How to Migrate from Your Current Email Marketing Platform to Seamailer (Without Losing Data!)
The Ultimate Guide to Migrating Your Email Marketing to Seamailer (Without Losing Data!)
Switching email platforms can be daunting, but it doesn't have to be. This comprehensive guide walks you through a step-by-step process to migrate your email marketing to Seamailer smoothly and securely, ensuring all your data, subscribers, and automations come with you.
Moving On: Why the Right Time is Now
Let’s be honest. The thought of migrating your email marketing platform can feel like a massive, terrifying undertaking. You’ve built your lists, crafted countless campaigns, and fine-tuned automations. The idea of uprooting all that and moving it to a new home… it’s enough to make you stick with a platform you’ve outgrown. But what if staying put is costing you more than the effort of a move?
Your business is growing. Your needs are evolving. The platform that was a perfect fit two years ago might be holding you back today with its clunky interface, lack of features, or skyrocketing prices. This isn’t just about getting a better deal; it’s about getting a better tool. A tool that gives you the power to segment your audience with precision, build automations that actually convert, and get your emails delivered, not lost in a spam folder.
Making the switch is an opportunity. It’s a chance to hit the reset button, clean house, and set yourself up for future growth. Think of it as a fresh start, a chance to shed the baggage of your old platform and embrace a more efficient, powerful way of doing things. The goal isn’t just to migrate; it's to migrate smart and seamlessly.
The Pre-Migration Checklist: Prepare for a Smooth Move
Before you even think about exporting a single contact, you need a game plan. A successful migration is all about preparation. You wouldn't move homes without a list, would you? This is no different.
Step 1: The Great Audit and Cleanup
First things first: you need to know exactly what you’re moving. Go through your existing platform and take stock of everything.
- Export Your Subscriber Data: This is your most valuable asset. Export all your subscriber lists as CSV files. Make sure to grab every single data point—names, email addresses, opt-in dates, custom fields, and, most importantly, any tags or segmentation data. This will be crucial for recreating your audience on the new platform.
- Clean Your Lists: A migration is the absolute best time for a digital spring cleaning. We’re talking about getting rid of the dead weight. Remove inactive subscribers, fix typos, and get rid of bounced or invalid email addresses. Use an email validation service to ensure you’re starting with a pristine, high-quality list. This improves deliverability from day one and saves you money.
- Document Everything: Create a spreadsheet or a simple document that lists all your essential email assets. This includes:
- Automation Workflows: Map out all your welcome series, abandoned cart emails, and other drip campaigns.
- Email Templates: Identify your most-used templates and campaigns. You’ll need to rebuild or re-create these.
- Forms and Landing Pages: Where are your sign-up forms located? Make a list so you can swap them out later.
- Integrations: Note all the other tools your email platform is connected to (e.g., your CRM, e-commerce store, or project management software).
This meticulous process ensures that nothing gets left behind and provides a clear roadmap for the move.
Step 2: Set Up Your New Home
Now, it's time to get your new platform, Seamailer, ready to receive its new residents.
- Create Your Account: Sign up and get acquainted with the dashboard. The intuitive interface is a breath of fresh air. Take a moment to explore where everything is.
- Authenticate Your Domain: This is a critical step for your long-term success. You'll need to update your DNS records (SPF, DKIM, and DMARC) to tell the world that Seamailer is authorized to send emails on your behalf. This is what keeps your emails from ending up in the spam folder and helps maintain your sender reputation. If this sounds a bit technical, don't worry—Seamailer’s help documentation makes the process straightforward.
- Configure the Essentials: Set up your sender information, company branding, and any other global settings. This is a quick and easy step, but it’s important to get it right.
The Migration Phase: A Step-by-Step Guide
This is the core of the process. Follow these steps carefully to ensure a seamless transition and zero data loss.
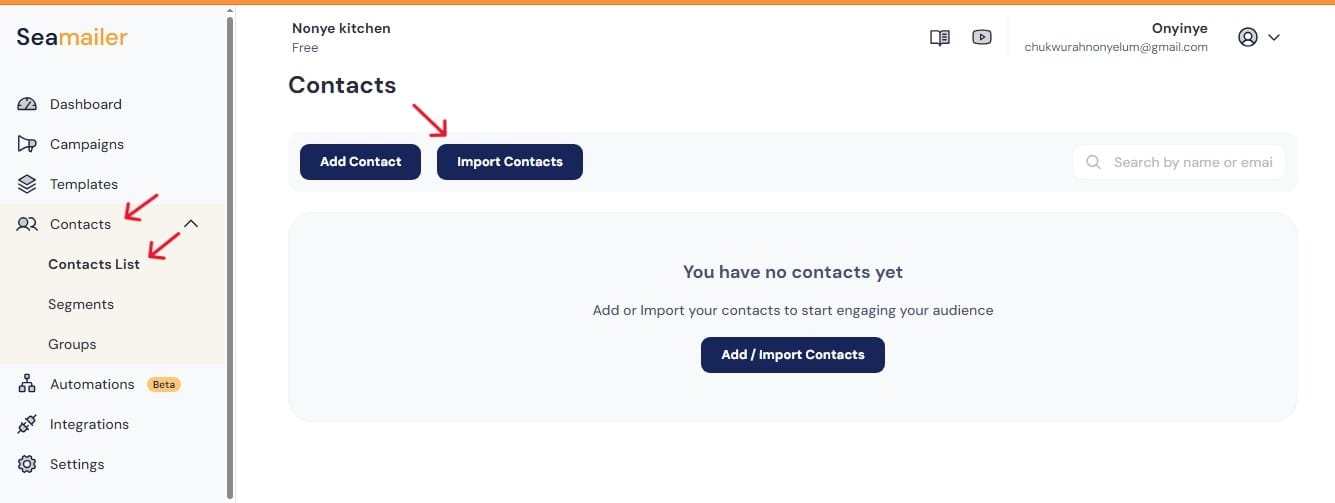
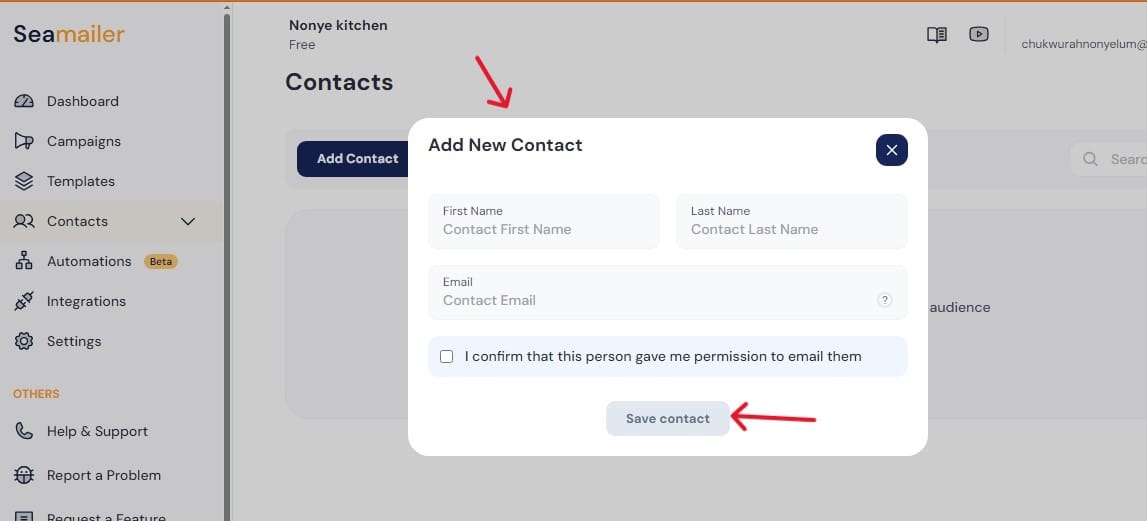
Step 3: Import Your Subscribers and Re-Establish Segmentation
This is where you'll bring your cleaned-up lists into Seamailer. The process is designed to be painless.
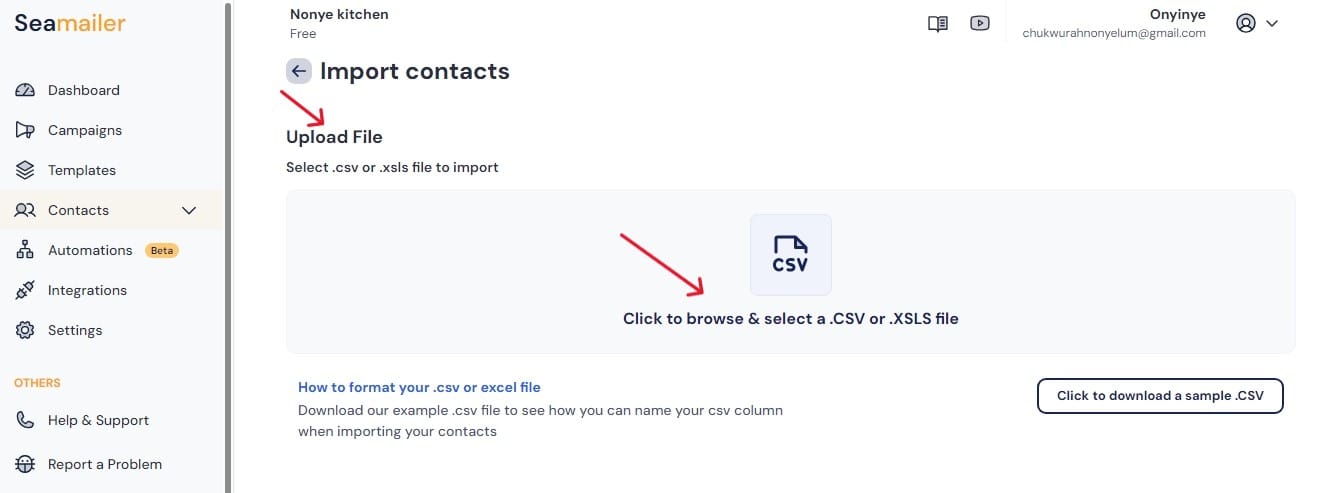
Use the Import Tool: Navigate to the contacts section and find the import tool. It’s usually a prominent button. Select your CSV file.
Map Your Data Fields: This is where that meticulous export from earlier pays off. Seamailer will walk you through mapping the fields from your CSV file to the corresponding fields in your new account. Ensure you map the email address, name, and any custom fields correctly.
Recreate Your Segments and Tags: During the import process, you'll be able to apply tags or group contacts based on the data you've imported. For example, if you had a list of “Engaged Subscribers,” you can tag them as such. This allows you to immediately begin using Seamailer’s powerful segmentation features without losing any of your hard-earned audience data.
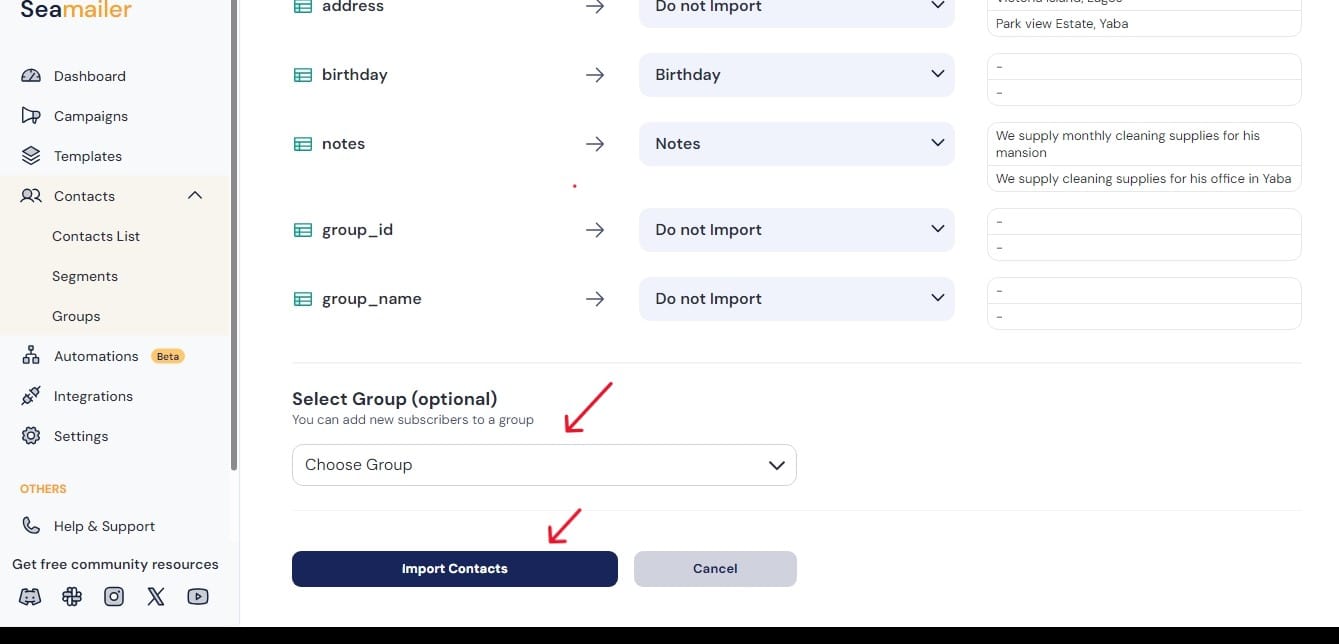
Pro-Tip: If you have different subscriber lists from your old platform, import them one by one. This helps you keep your audience organized and apply specific tags to each group during the import.
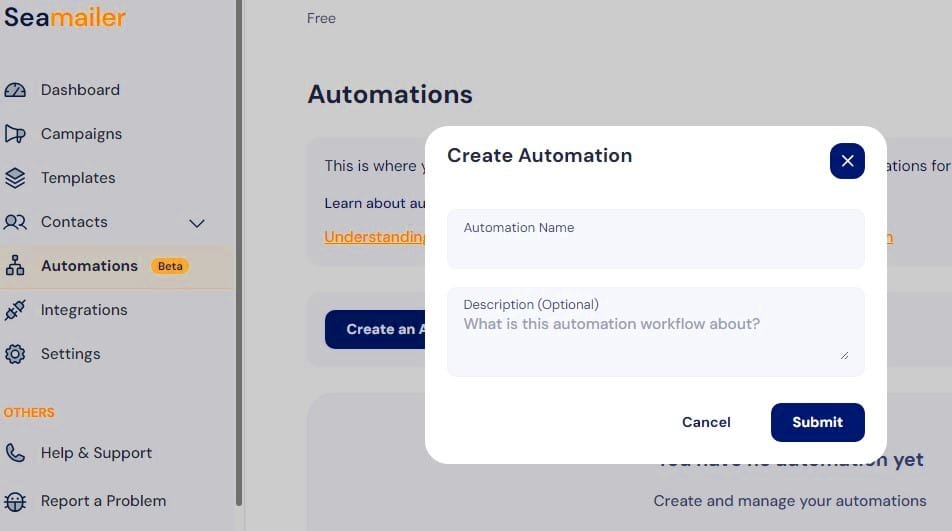
Step 4: Rebuild Your Campaigns and Automations
You can't simply "transfer" automations and templates. Each platform has its own architecture, so you’ll need to rebuild them from scratch. But don’t see this as a chore; see it as an opportunity to improve.
- Start with Templates: Use Seamailer’s drag-and-drop editor to recreate your most important email templates. This is a great chance to refresh your design and make sure your emails are fully responsive.
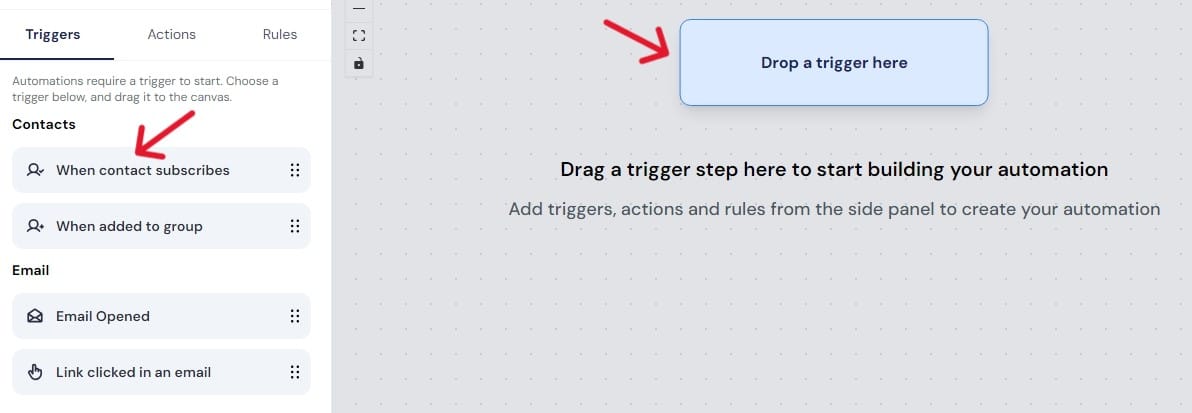
- Rebuild Automations: Seamailer’s automation builder is visual and intuitive. Map out your workflows one by one, using your documented plan from the audit phase. Set up your triggers, actions, and delays.
- Pause and Test: Before you activate anything, send test emails to yourself and your team. Check that all links are working, images are loading correctly, and the personalization fields are pulling in the right information.
Step 5: Update Your Integrations and Forms
Remember that list of integrations you made? It's time to update them.
- Disconnect and Reconnect: In your other tools (CRM, e-commerce platform), disconnect the old email marketing platform and connect them to Seamailer.
- Swap Out Your Forms: Replace the old sign-up forms on your website and landing pages with new ones from Seamailer. This ensures that new subscribers are being added directly to your new platform.
Post-Migration Best Practices: The Final Touches
You’ve made the move! But the job isn't quite done. The first few weeks on your new platform are critical for establishing a good reputation with internet service providers (ISPs).
Step 6: The "IP Warming" Phase
When you start sending emails from a new platform, you're using a new IP address. The ISPs don't know you yet, and they'll be cautious. If you send a huge blast to your entire list right away, they might think you're a spammer and send your emails to the junk folder.
The solution is to warm up your IP address by gradually increasing your sending volume.
- Week 1: Send to a small, highly engaged segment of your list (e.g., people who have opened or clicked an email in the last 30 days).
- Week 2: Double your sending volume, adding another segment of engaged users.
- Week 3 and Beyond: Continue to increase your volume, gradually adding less engaged subscribers until you're sending to your entire list.
This process tells ISPs that you're a legitimate sender with a healthy list, building your sender reputation and ensuring high deliverability.
Step 7: Monitor and Optimize
Now that you're fully up and running on Seamailer, it's time to put its powerful analytics to good use.
- Watch Your Metrics: Keep a close eye on your open rates, click-through rates, and bounce rates. Compare them to your old platform's performance to see the immediate benefits of the switch.
- Test and Refine: Take advantage of Seamailer’s A/B testing features. Experiment with different subject lines, email content, and send times to find what resonates best with your audience.
- Leverage New Features: You made this move for a reason. Explore the advanced segmentation, automation, and reporting tools you now have at your fingertips.
Making the move from your old email marketing platform to a new one, like Seamailer, is a significant step. But with a solid plan, a little patience, and the right tools, you can ensure the transition is smooth, secure, and sets your email marketing up for unprecedented success. So take a deep breath, follow these steps, and get ready for a fresh start!